
Getting Started
Connect a target and run your first pentest.
Every organization gets a one-time trial credit grant on signup, so you can run a real pentest before deciding on a plan.
Create your organization
Sign up and confirm your email. This creates your organization — the workspace your team, targets,
and runs all belong to. You can invite teammates with a role (owner, admin, analyst, or
viewer) from Settings → Members at any point.
Connect a target
Vulnix tests two kinds of targets. Pick whichever matches what you want to scan first — you can add the other kind later, and a single organization can run both.
Add a domain from Domains, then verify you actually control it — this is what gates whether a run against it is allowed to start at all, not a separate legal sign-off.
Verify ownership. Add a DNS TXT record, an uploaded file, or a meta tag — whichever is easiest for how the domain is hosted. If the domain is on Cloudflare or Vercel, connect that provider via OAuth instead and Vulnix creates the DNS record for you automatically.
(Optional) Save test-user credentials. For authenticated testing, store a login URL and credentials on the domain — saved for reuse across future runs, not just the one scan.
Configure and launch a scan
From New Pentest, pick a scan mode (quick, standard, or deep), then narrow the scope as
needed: excluded paths, rate limits, a testing window, and — for a blackbox target — custom HTTP
headers (useful for a WAF allowlist token or an API key) alongside any saved test-user credentials.
Add free-text context or reference documents if there's something the agent should know going in.
Launching a run queues it behind a global capacity reconciler, so sandbox capacity is never overcommitted across your organization's runs — it starts as soon as a slot is free.
Watch it run, then act on the results
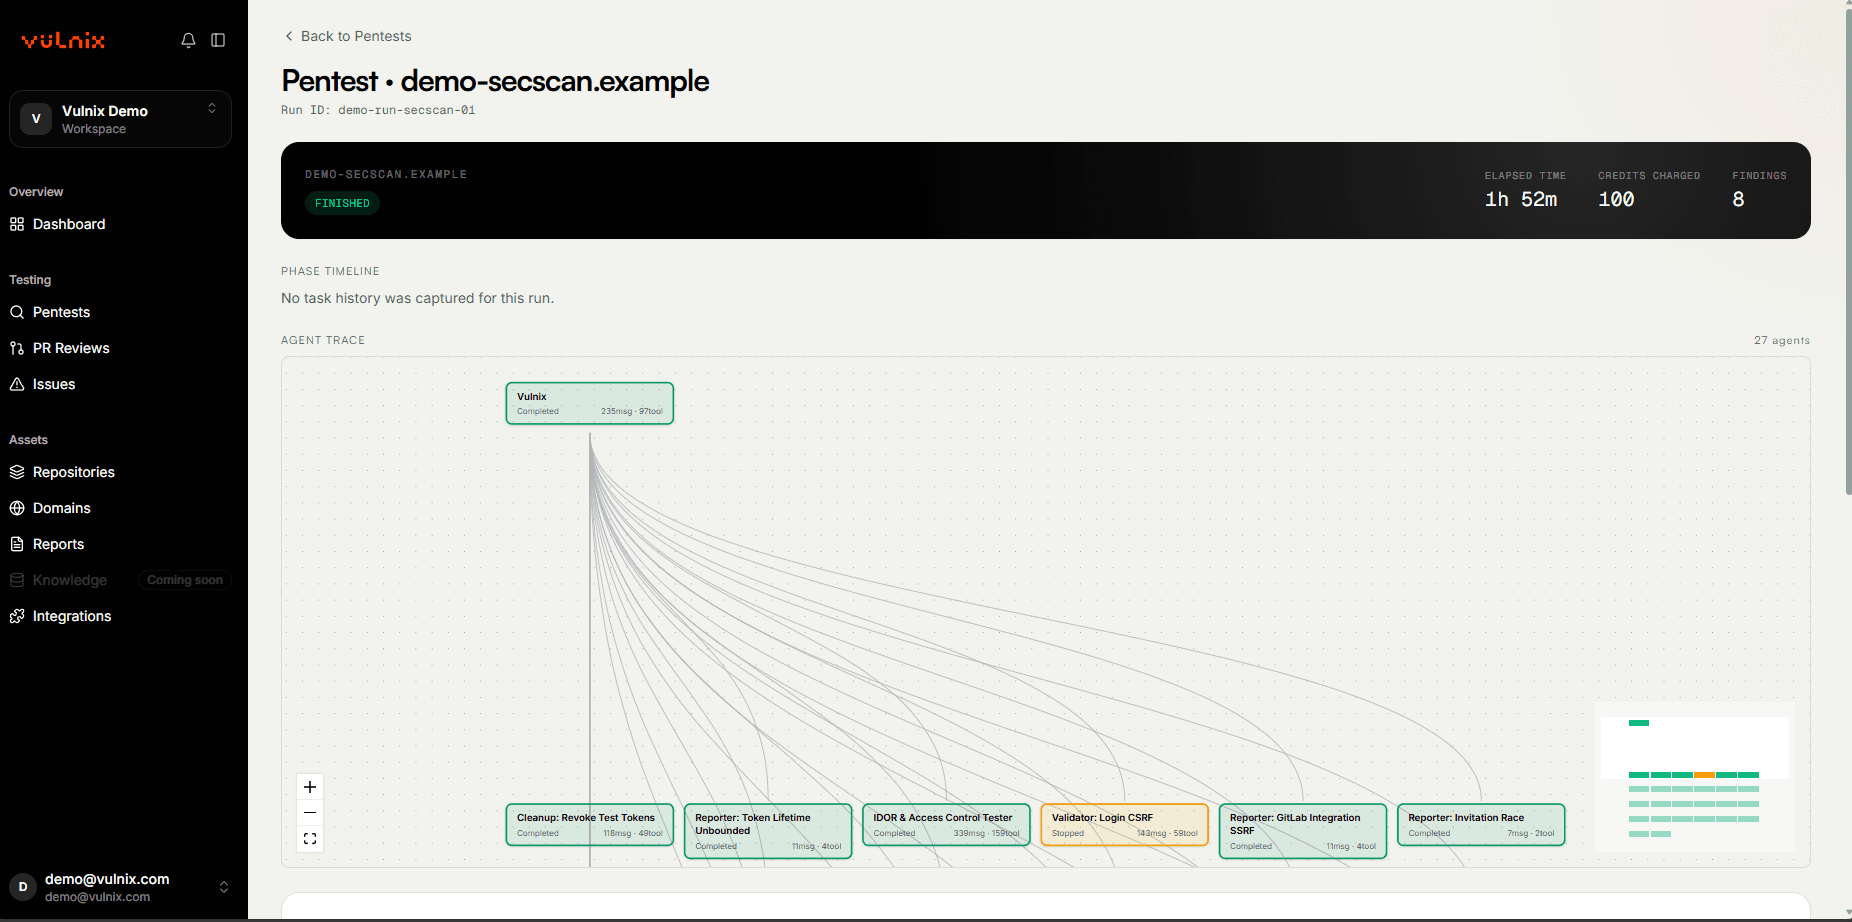
The run view streams the agent's progress live: an interactive trace of every sub-agent it spawned and what each one did, plus findings as they're discovered. When it finishes, each finding carries its severity, reproduction evidence, and — for a whitebox finding — the exact code location.
The cost shown mid-run is an estimate
A running scan's price was fixed the moment you launched it (see Billing & Credits) — any figure shown before it finishes is a heuristic progress estimate, not a live meter, and won't move the actual amount charged.
From a finding you can mark it fixed, snooze it, formally accept the risk, or (for an eligible whitebox finding) have Vulnix open a real GitHub PR with the fix applied. Once you believe an issue is resolved, Validate Fix re-runs just that finding's original exploit to confirm it actually holds before you close it out.
What's next
- Blackbox vs. Whitebox — a closer look at how each scan type actually works.
- Domains & Verification — every way to prove you own a target.
- Scoping a Run — every configuration option, in depth.
- Findings & Reports — severity, evidence, and export formats.
- Dashboard — your organization's posture over time.
- Notifications — what Vulnix tells you, in-app and by email.


